Screen Recording Settings That Make Your App Demo Look Professional
The gap between an amateur screen recording and a professional one is usually five settings, changed before you hit record — not anything fixed afterward in editing.
Two people can record the exact same flow on the exact same app and end up with completely different footage. Not because one has a better phone or a better recording app, but because one of them changed five settings before hitting record and the other didn't.
None of this is editing work. It's a thirty-second setup pass that decides how much cleanup the footage needs afterward — and in a few cases, decides whether it's usable at all.
Set the time, and check the rest of the status bar
The clock at the top of the screen is the single most distracting detail in an app recording, because it's the one piece of the frame that has nothing to do with your app. A viewer's eye catches "3:47 PM" and, for a fraction of a second, they've left the demo.
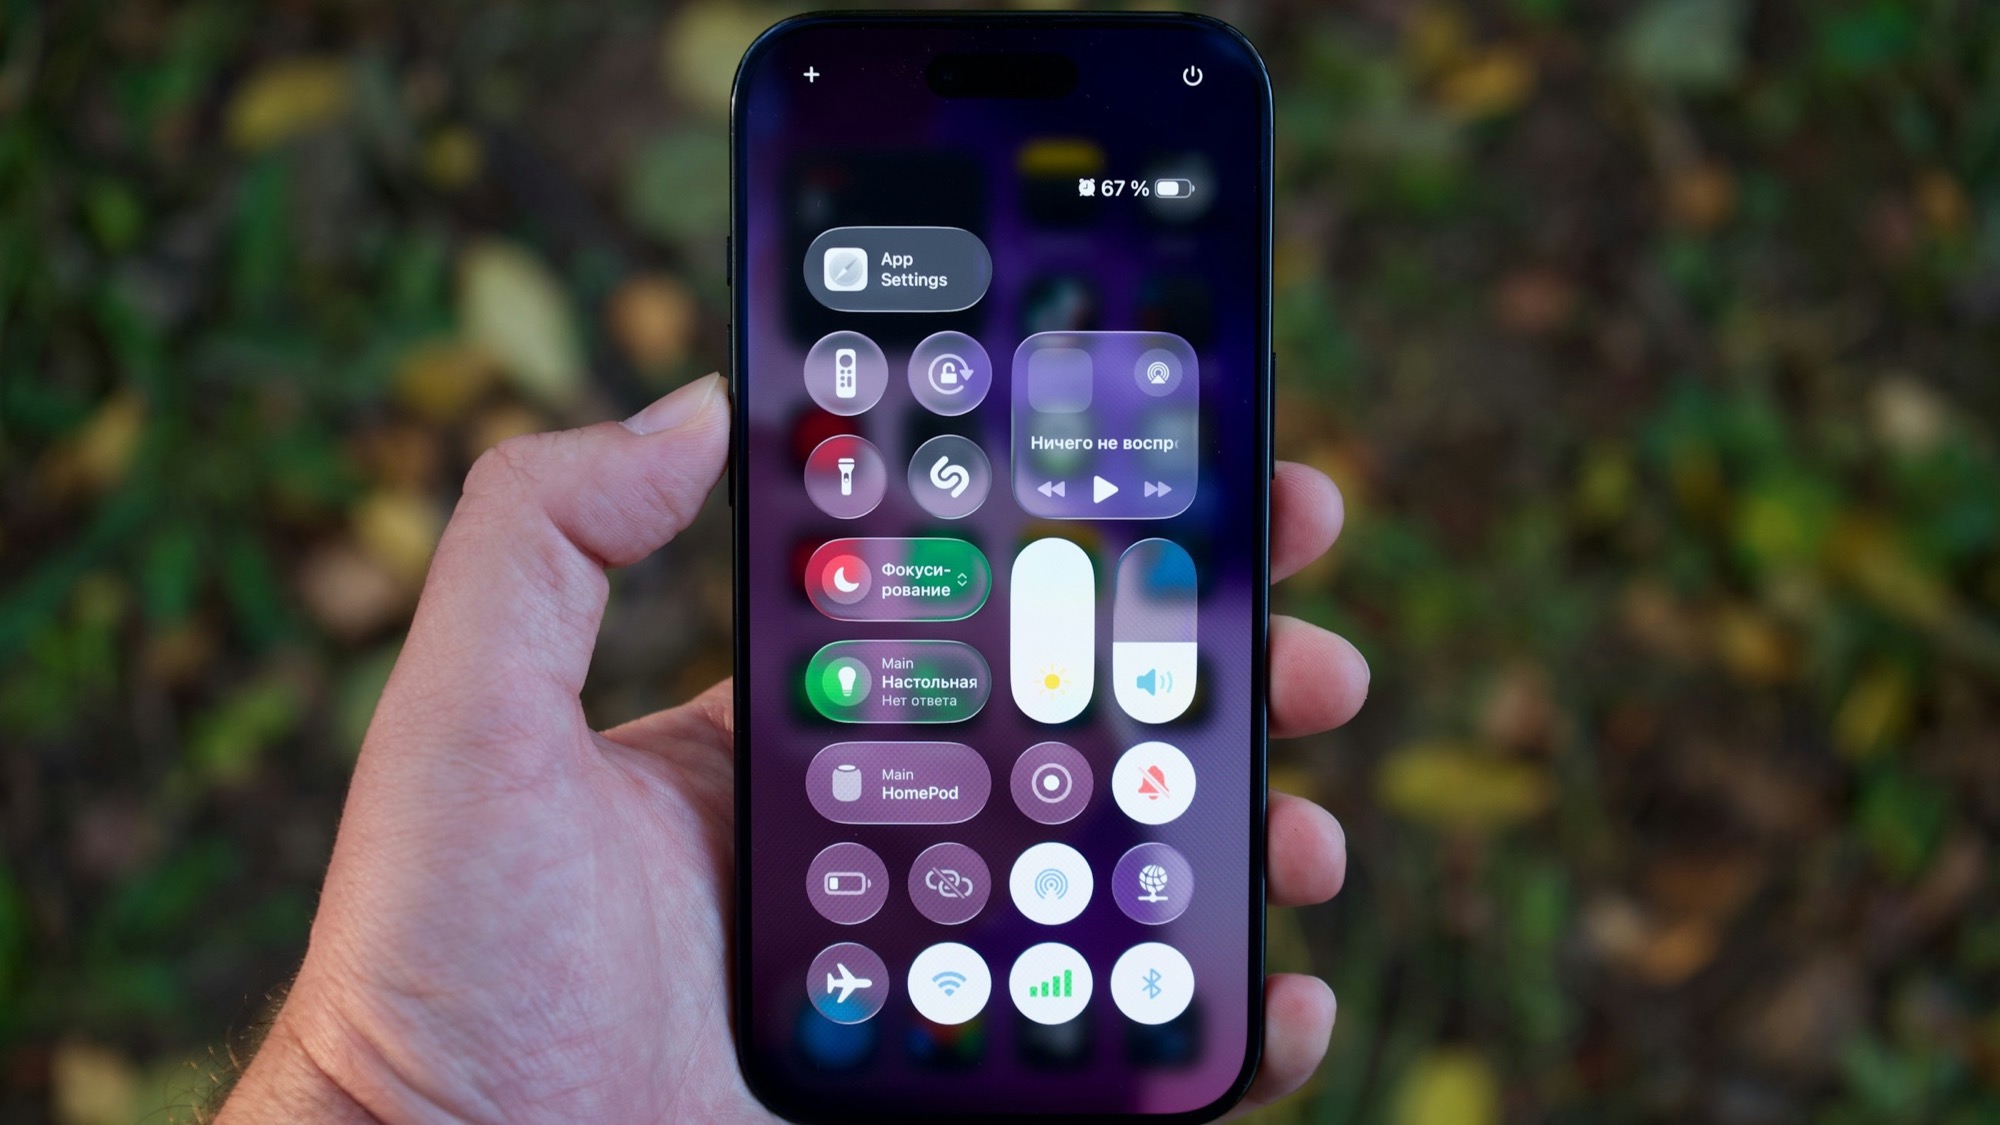
Before recording, set the time to something clean and consistent — 9:41 is the old Apple keynote standard for a reason, but any tidy time works as long as you use the same one across every clip in a series. While you're there, check battery level (a low-battery icon reads as neglected) and make sure carrier/Wi-Fi signal is full. On iPhone, all of this comes from the same place your screen recorder toggle lives: swipe down for Control Center.
Turn on a Focus mode before you record
A text message or app notification sliding down mid-recording is the most common reason a good take gets thrown out. It's also completely avoidable: turn on Do Not Disturb or a dedicated Focus mode before you start, not after the first ruined take teaches you to.
This matters even if you plan to edit the notification out later — cutting around a banner means losing the frames around it too, which often costs you the exact moment you were trying to capture.
Lock orientation and brightness
Auto-rotate can flip a recording mid-clip if the phone tilts even slightly, and auto-brightness can shift exposure noticeably between a bright room and a shadowed desk. Both read as amateur mistakes because they're both easy to prevent.
Lock screen orientation to whichever one you're recording in, and set brightness manually to a level that looks good on camera — usually higher than what's comfortable for actually using the phone, since screens read darker on video than they do in person.
Check resolution and frame rate, if your recorder lets you choose
Not every recording app exposes this, but if yours does, it's worth setting deliberately rather than leaving on a default. Higher resolution preserves small UI text and icons when the video gets scaled down for social crops later. A standard 30fps is enough for almost all app footage; go higher only if you're capturing something genuinely fast-moving, like a scrolling animation, where a higher frame rate keeps the motion smooth instead of stuttery.
Decide what gets heard before you decide what gets seen
System sounds, keyboard clicks, and notification chimes get baked into a recording's audio track the moment they happen — you can mute them in the final export, but you can't un-record them cleanly if you're narrating over the top. Turn off keyboard sounds and non-essential system sounds before recording, and decide in advance whether you're narrating live or adding captions and sound afterward. Trying to decide that mid-recording is how you end up with a track that's half narration, half silence, and awkward to fix.
Do one five-second test clip first
The fastest way to catch a wrong setting is a throwaway test recording before the real one: open the app, tap around for five seconds, stop, and actually watch it back. This catches the mistakes that are invisible while you're staring at the phone in your hand but obvious the moment you see the footage played back — a status bar that didn't update, brightness that reads darker than expected, orientation that's slightly off.
Thirty extra seconds here regularly saves a full re-recording later.
Where MobileStudio fits
MobileStudio is currently in early access. Once a recording is imported, it applies consistent framing and export settings on top of it — which is exactly why footage recorded with a clean setup goes in looking better than footage that wasn't. Good settings before recording and good tools after it aren't a substitute for each other; they solve different problems. Join the waitlist if you want to try it as it opens up, or see what a properly captured recording looks like once it's edited.
Every one of these settings takes seconds to change and none of them require a better phone, a paid app, or editing skill. They just require doing them before you hit record instead of trying to fix their absence afterward.