How to Turn an iPhone Screen Recording Into a Polished Demo Video
A first-hand walkthrough of turning a raw iPhone screen recording into a polished demo video — editing, framing, and export, done right.
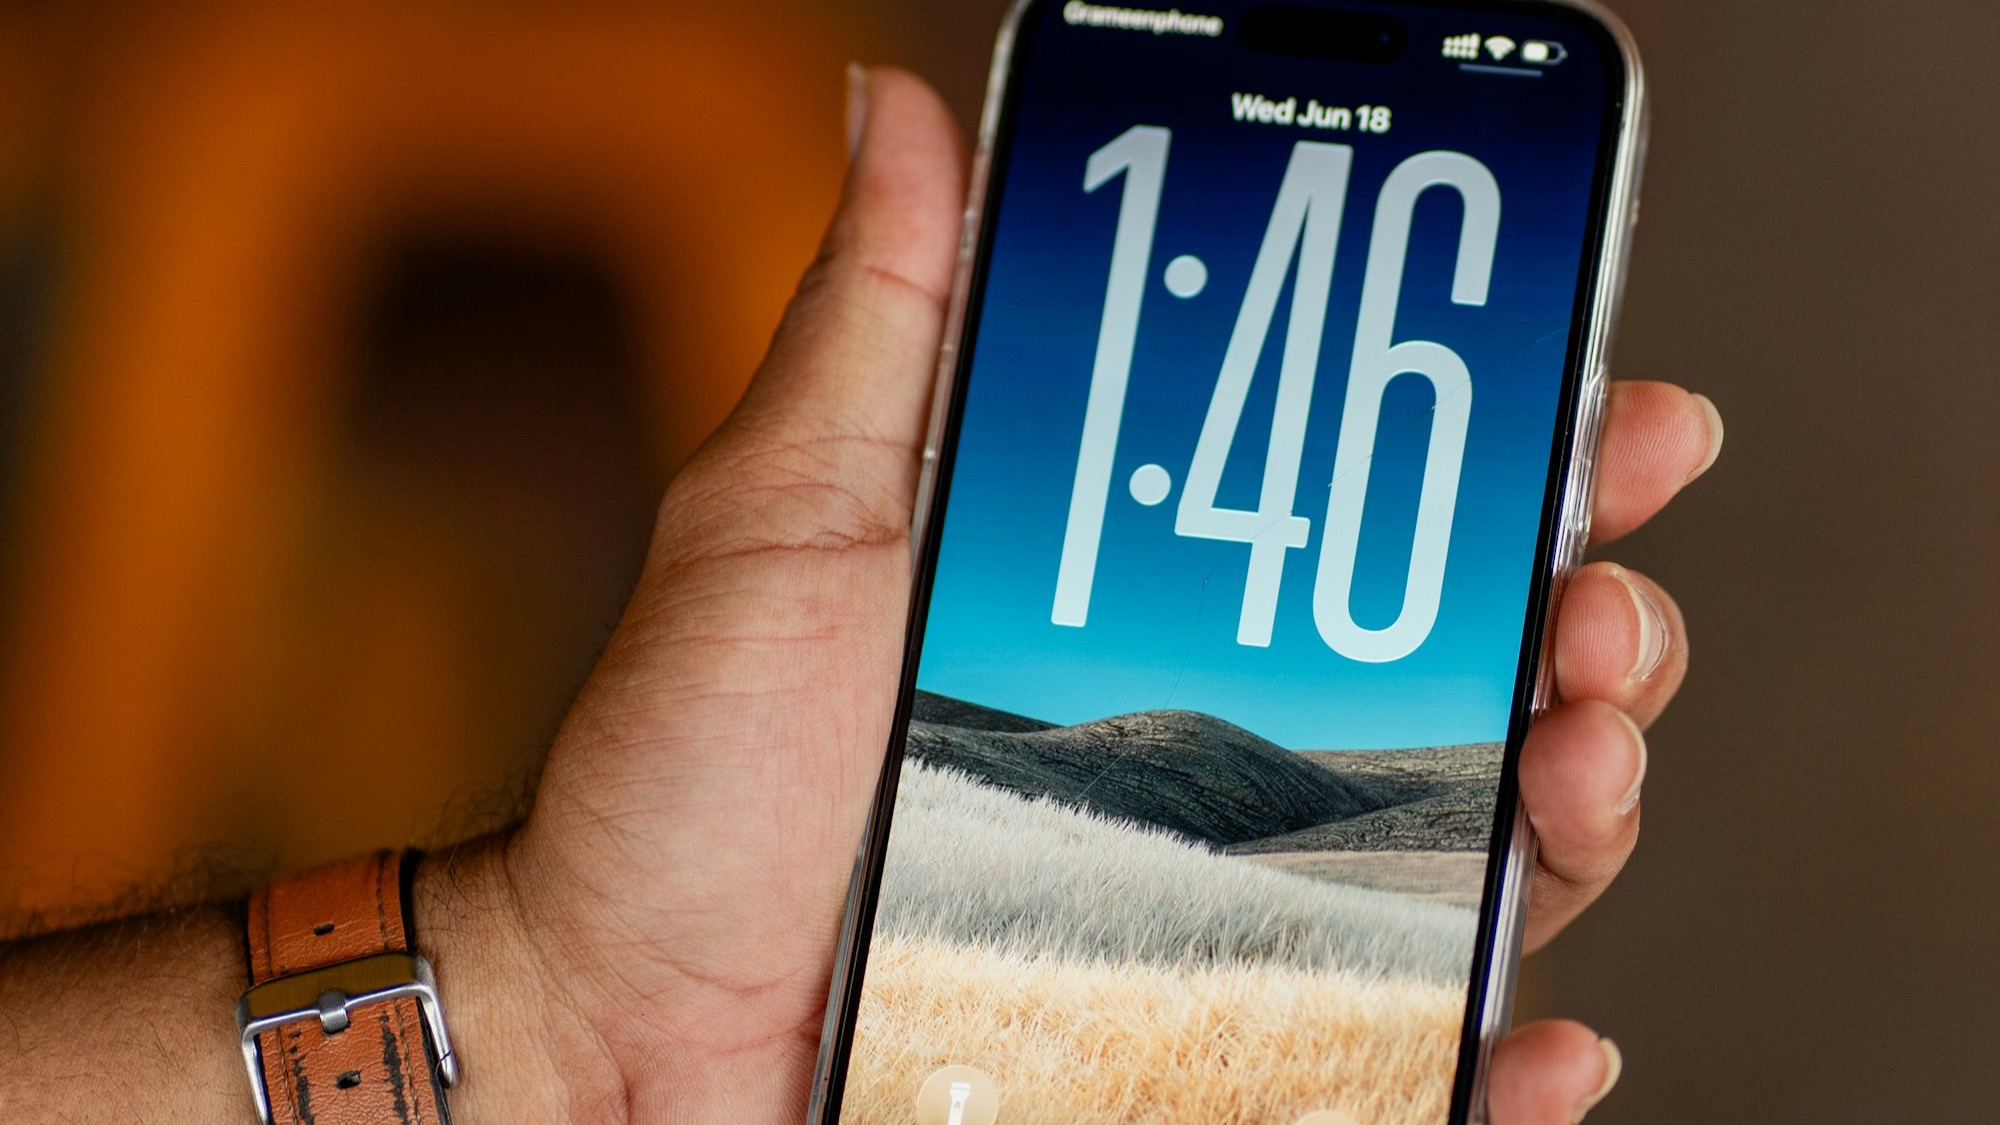
A raw iPhone screen recording and a demo video that makes someone stop scrolling can start from the exact same file — and still look nothing alike. iPhone has recorded its own screen since iOS 11: swipe down, tap the record button in Control Center, done (Apple's own instructions cover the basics). Getting the footage was never the hard part. What happens between "I have a recording" and "this is ready to show a customer" is where most of the actual work — and most of the difference in quality — lives.
Here's what that gap involves in practice, based on what we've run into building MobileStudio and turning our own recordings into demo and launch videos. If you're still deciding which app to record with in the first place, What to Look for in an iPhone Screen Recording App covers that part.
Know what you're making before you touch the recording
The path from raw recording to finished video changes depending on what it's for:
- App demo for a landing page — clean framing, no dead time, looks intentional
- Product launch clip — polish, pacing, a background that doesn't fight the screen
- Social media clip — fast export, works with the sound off, vertical crop
- Tutorial or walkthrough — clarity over polish, accurate pacing, legible text
- Bug report for a teammate — speed: record, send, done, no editing needed
- Sharing a feature with a customer — fast turnaround, doesn't need to be "produced"
If you're mostly doing the last two, the recording itself is basically the deliverable. Once you're regularly making the first three, everything below starts to matter.
Check the raw recording before you edit anything
Before framing or exporting, the source file has to actually be usable:
- Resolution — it should be captured at your device's native screen resolution, not a downscaled version. Anything you plan to crop or frame later needs the extra pixels.
- Frame rate — 30fps is fine for a static walkthrough; anything with scrolling, swiping, or animation looks noticeably smoother at 60fps.
- Dropped frames under load — some recorders stutter during heavy animation or when switching apps. Test with your actual screen content, not a blank home screen — that's usually where problems show up.
If the source recording is soft, stuttery, or the wrong resolution, no amount of editing afterward fixes it.
Audio: decide what you actually need before you record
Most recordings need one of three things:
- No audio — silent product clips meant to be watched with captions or music added later
- System audio only — in-app sounds, useful for showing off audio or haptic feedback
- Microphone narration — walkthroughs and tutorials where you're talking over the screen
Mixing up system audio and mic input is a common reason people end up re-recording something that was otherwise fine — worth deciding before you hit record, not after.
Editing: where a recording actually becomes a video
A raw recording almost always has dead time at the start, a fumbled tap, or a pause while you find the next screen. This is usually the biggest quality gap between "screen recorded on a phone" and "looks intentional": trimming the start and end without re-exporting from scratch, cutting dead air or mistakes out of the middle, and basic pacing — most raw recordings are recorded slower than they should be watched back.
This is also where MobileStudio spends most of its effort: taking the raw file straight from recording into trim, frame, and export without switching apps or exporting intermediate files along the way.
Put the recording inside an accurate device frame
A recording that's just the raw screen, edge to edge, reads as a screenshot, not a video. A device frame gives viewers context for what they're looking at — but it has to actually match: correct corner radius, correct notch or Dynamic Island, and the recorded content staying behind the bezel instead of floating above it.
Padding and background matter more than people expect. Too little padding and the frame feels cramped against the edge of the video; a background that's too busy competes with the interface for attention. This is one of the areas MobileStudio focuses on directly — placing a recording in an accurate frame, adding padding around it, and choosing a background that supports the interface rather than distracting from it, without needing a separate design tool.
Export for where the video is actually going
The right export settings depend entirely on the destination. App Store preview clips have their own required dimensions and format; a landing page video can usually be larger and higher quality since it isn't size-constrained the way social platforms are; social platforms often re-compress video on upload, so starting from a low-quality export makes things worse. Exporting once at high quality and resizing per destination is more reliable than re-recording for every platform.
Get it to the people who need to see it
The last step is easy to overlook until it's the thing slowing you down. A large, uncompressed file is annoying to send over Slack or email; too much compression and the text in your interface turns to mush. Look for an export small enough to share quickly without visibly degrading the screen content — especially text or fine UI detail, usually the first thing to blur under aggressive compression.
Common mistakes people make with this process
- Editing before checking the raw recording. If the source is the wrong resolution or dropping frames, fix that first — editing can't rescue a bad capture.
- Skipping the frame entirely. A raw, edge-to-edge recording reads as a screenshot dropped into a video, not a produced clip.
- Treating export as an afterthought. Recording and trimming get most of the attention, but export quality and format are where a lot of otherwise-good videos fall apart.
- Adding effects instead of fixing framing. For a product demo, a clean, accurate device frame usually beats a flashy transition.
- Ignoring file size until sharing is already slow. A video too large to send easily gets used less often, no matter how good it looks.
A practical checklist before you publish
- Recording is at native resolution and a frame rate that suits the content
- Audio matches what you actually needed (none, system, or mic)
- Dead time and mistakes are trimmed out
- Device frame matches your actual device — correct corners, correct notch or Dynamic Island
- Padding and background are deliberate choices, not left on default
- Export settings match where the video is actually going
- File size is reasonable to share directly, without visible quality loss
- You've watched the final export once, start to finish, before sending it
Where MobileStudio fits
MobileStudio is built around the middle of this process: taking a raw recording straight into an accurate device frame, adjustable padding and background, and an export sized for where the video is going — without switching between a recorder, a mockup tool, and a video editor. It's currently in early access; join the waitlist if you want to try it as it opens up, or see real examples of videos made with MobileStudio.
Not every recording needs this treatment — a quick bug report for a teammate is fine straight out of Control Center. But the moment a recording is going in front of a customer, on a landing page, or into an App Store listing, the frame, the padding, and the export step stop being optional.