A transparent PNG mockup is the most flexible kind: the phone frame on an invisible background, ready to drop onto any design. Here's how to use one properly.
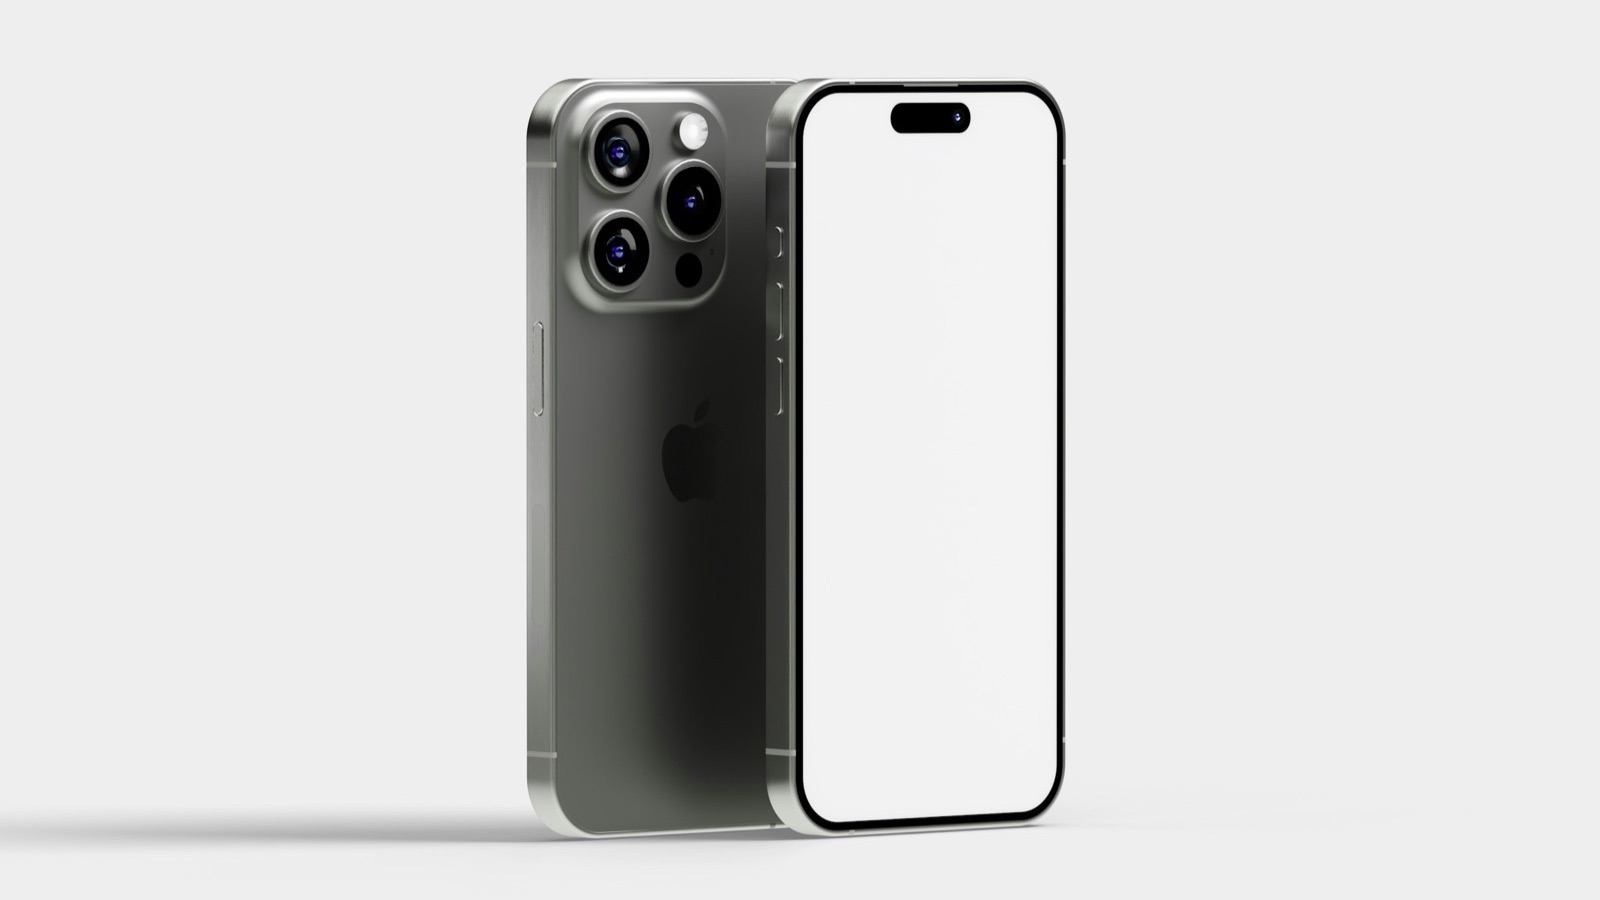
What a mockup PNG contains
- The phone body (frame, buttons, edges).
- A transparent screen area, or a separate screen layer, where your content goes.
- A transparent background, so it sits on any color.
How to place your screenshot
- Open a canvas in your design tool (Figma, Keynote, Photoshop, or Canva).
- Place your screenshot first.
- Place the mockup PNG on top of it.
- Resize the screenshot so it fills the screen area exactly, with no gaps at the rounded corners.
- If needed, give the screenshot rounded corners matching the frame (or use a mask).
- Add your background behind both.
- Export.
Common mistakes
- Stretching the screenshot to fit a different phone's shape. Use a matching frame instead.
- Low resolution: a small PNG scaled up looks blurry. Download the largest size.
- Gaps at the corners: screenshot corners poking out past the frame.
- Ignoring the Dynamic Island: don't hide key UI under it.
Export settings
- PNG to keep transparency (for use on websites over different backgrounds).
- JPG for a final image with a solid background, which makes a smaller file.
- Export at 2x for sharp results on high-resolution displays.
Where to get PNG mockups
Apple Design Resources offers official bezels. See iPhone mockup free for license tips.
Free tool: the App Mockup Generator puts your screenshot in a realistic iPhone frame and exports a PNG or JPG in seconds.
Where MobileStudio fits
PNG mockups are for still images. For screen recordings of your app, MobileStudio applies the device frame to the whole video, on your phone. Get MobileStudio.
Quick FAQ
How do I put a screenshot in an iPhone mockup PNG?
Place the screenshot underneath the frame and size it to the screen area.
Should I export as PNG or JPG?
PNG for transparency, JPG for a final image with a background.