Most people start a screen recording from Control Center. On iOS 18 and later, you've got faster options too. Here are three ways to turn on screen recording on iPhone, from most common to quickest.
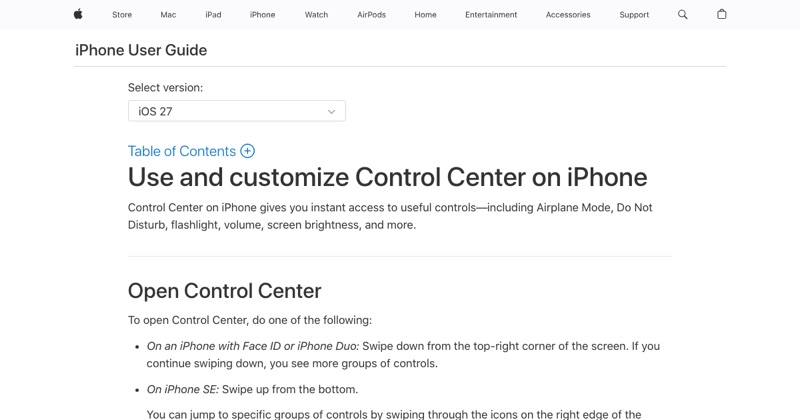
Way 1: Control Center (every iPhone)
- Swipe down from the top-right corner.
- Tap the Screen Recording button.
- Wait for the three-second countdown.
If the button isn't there, tap + > Add a Control, then search Screen Recording. On iOS 17 and earlier, add it in Settings > Control Center.
Way 2: The Action button
iPhones with an Action button (iPhone 15 Pro and later models that have one) can launch a control with a single press on iOS 18 and later:
- Open Settings > Action Button.
- Swipe to Controls.
- Choose Screen Recording.
Now pressing and holding the Action button starts a recording. It's great when you need to capture something quickly, like a bug that only happens sometimes.
Way 3: The Lock Screen
On iOS 18 and later you can swap the flashlight or camera controls at the bottom of the Lock Screen for other controls:
- Touch and hold the Lock Screen, then tap Customize.
- Choose the Lock Screen.
- Tap the minus on the flashlight or camera control, tap +, and pick Screen Recording.
Stopping is the same every time
Tap the red indicator at the top of the screen and tap Stop. The video goes to Photos.
Which should you use?
- Recording occasionally: Control Center is enough.
- Recording often, like for testing or tutorials: the Action button saves the most time.
- Recording from a locked phone: the Lock Screen control.
Whichever you use, turn on Do Not Disturb first so notifications don't land in the video.
Where MobileStudio fits
If you record your own app often, MobileStudio turns those raw recordings into polished demo clips without leaving your phone. Get MobileStudio.
Quick FAQ
Can I start screen recording with Siri?
Not reliably. Use Control Center, the Action button, or the Lock Screen.
Does the Action button work on every iPhone?
No, only on models that have one.